Recipes

Kitchen > Recipes > Special Fried Rice with Lamb

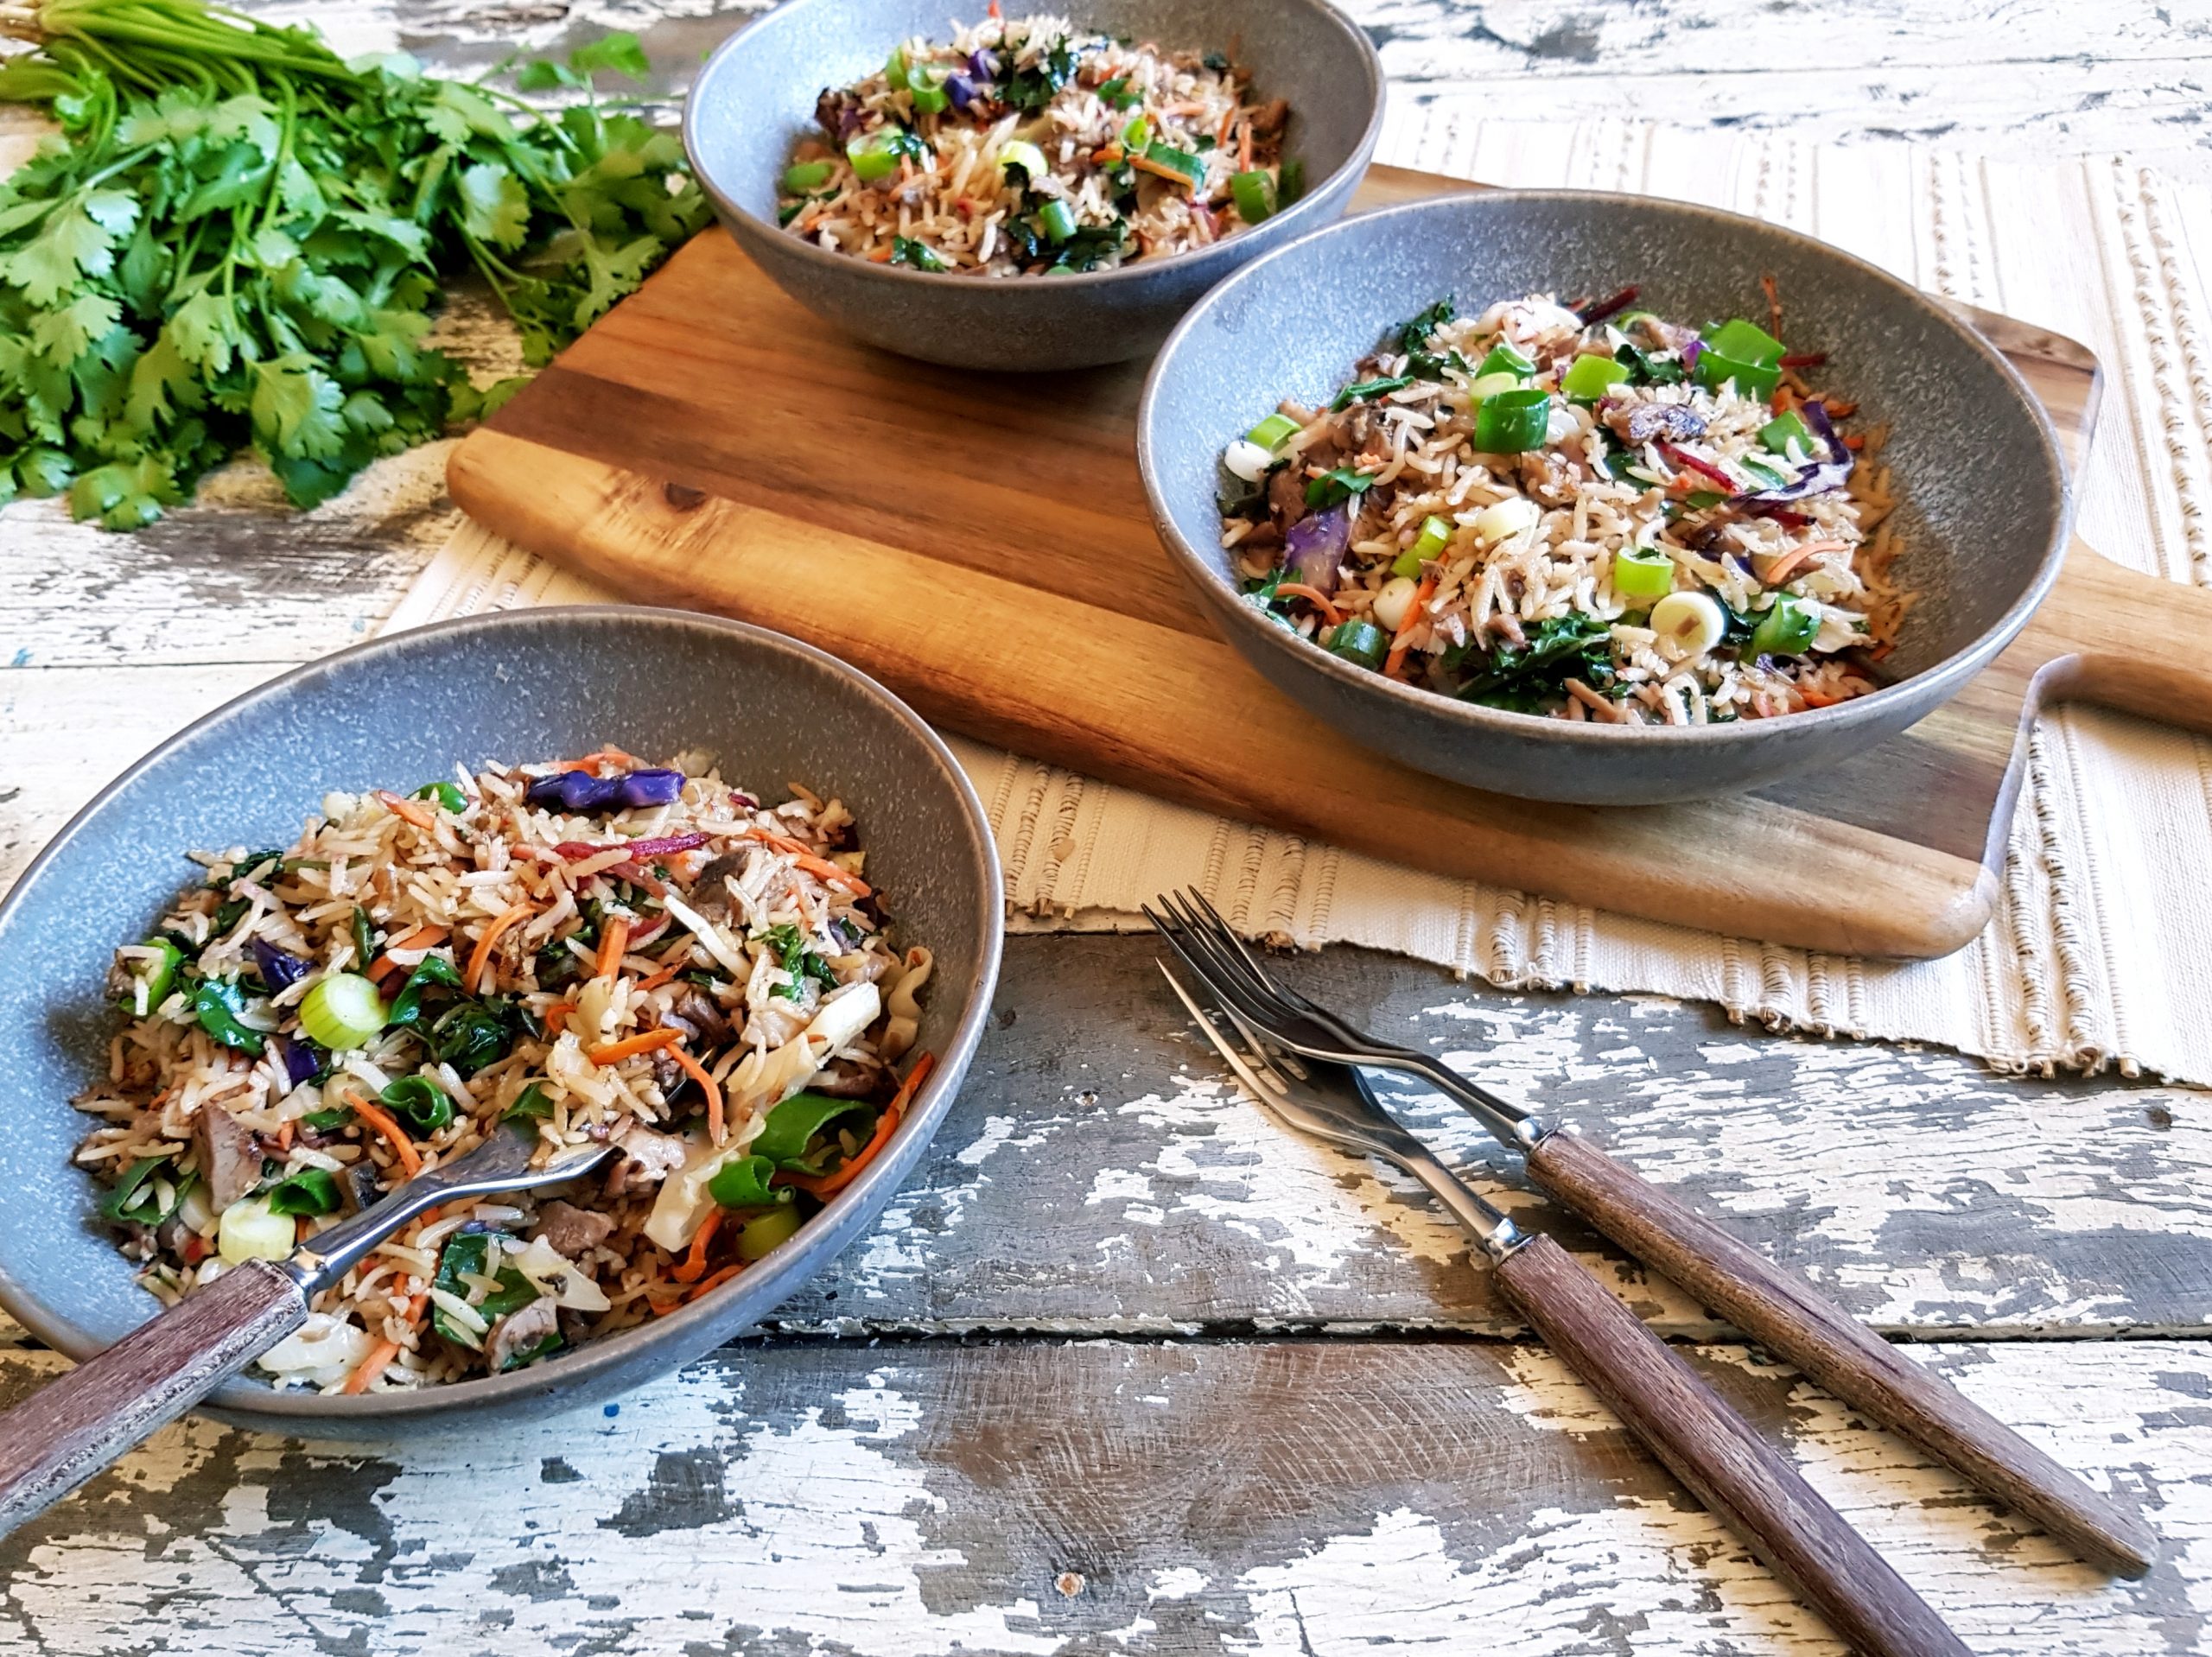
Special Fried Rice with Lamb

Special Fried Rice with Lamb | Border Park Kitchen

For food allergies and intolerances, please carefully check the ingredient list on each product before using or consuming.

Ingredients:

  • 3 – 4 tbsp oil of choice (I like deoderised coconut oil)
  • 3 – 4 cups cooked long grain rice, cold (brown or white), see note below
  • 200 – 500g cooked shredded lamb
  • 250g packet organic Kaleslaw or coleslaw
  • 2 scallions (green onions), white and green parts, sliced
  • 2 tsp Chinese cooking wine (rice wine), optional but recommended!
  • 2 tsp soy sauce

Instructions:

  1. Preheat frypan. Preheat a large heavy-based frypan over medium high heat for 5 minutes.
  2. Break up any rice clumps. Using oiled fingers, break up rice so grains are separated.
  3. Sauté rice. Add oil and rice to the hot pan and fry for 5 minutes, stirring occasionally, until lightly browned and aromatic.
  4. Add lamb and vegies. Fry for 5 minutes, stirring occasionally, until warmed through.
  5. Add remaining ingredients. Stir through scallions, cooking wine and soy sauce. Taste and season with sea salt, if desired. Remove from heat.
  6. Serve immediately, giving everyone the chance to ‘flavour’ their own rice as they choose.
Serve with:  
  • Serving sauce options: tamari, toasted sesame oil, yoghurt dressing (with Kaleslaw pack), sweet chilli sauce, hot sauce, BBQ sauce.
  • Garnish with chopped fresh coriander, fresh bean sprouts, or non-traditional toppings like sliced olives or semi-dried tomatoes.
Allergy-Friendly:  

Opt for gluten-free Chinese cooking wine and soy sauce.

Substitutions:  
  • Replace scallions with 1 onion, finely diced.
  • Use shredded beef, chicken, turkey or pork in place of the lamb.
  • For a vegetarian option, add sliced button mushrooms or thinly sliced omelette in step 4 instead of the lamb.
  • No purchased kaleslaw? Use approx 3 cups of vegies such as finely shredded kale, cabbage, finely sliced celery and grated carrot.
  • In place of the Chinese cooking wine, use Japanese rice wine, mirin or dry sherry.
More substantial:  

Add extra finely chopped vegies in step 4, or stir through 100g chopped feta or a larger portion of meat before serving.

Boost the flavour:  
  • Add 1 – 2 cloves of garlic or some grated ginger in step 4.
  • Add a generous knob of butter in step 4 (yes, this is unconventional but yummy!)
  • Don’t be shy with the oil in this recipe. This contributes to that delightfully crispy texture.
Storage suggestions:  

Best eaten immediately, but can be stored in an airtight container in the fridge for up to 3 days.

Time Saving Tips:  

If you’re organised, this recipe involves no chopping on the day of cooking.

  • Freeze small portions of cooked rice in silicone reusable bags or quality ziplock bags. Flatten out so they store and defrost well.
  • Keep a few ziplock bags with sliced scallions (or diced onion) in the freezer. This means there’s zero chopping for this recipe (if you’re using a purchased kaleslaw)!
  • Freeze cooked and shredded meat in small portions to make it easy to add to any quick meal.
Peri’s Tip:  

I cook a pot of long grain brown rice every week and store it in the fridge. Our family love this Fried Rice, so that’s often what I use any leftover cooked rice for. Having cooked rice on hand also makes pulling meals together much easier, as we can always count on having a quick and easy carbohydrate available to bulk out a meal.

Recipe Notes:

This list of do’s and don’ts might seem a little daunting, but please don’t let that stop you making this dish.

Once you know the key steps and you’ve done it once, you’ll be making this on a regular basis ?

  • The secret to fabulous fried rice is using cold, dry rice. As the rice cools, the extra water evaporates, resulting in dry, firm grains that don’t stick together. (Freshly cooked rice will be gummier and become increasingly sticky when heated and cooked as fried rice).
  • Deal with the lumps before cooking. If your rice is a little clumpy, spend an extra few minutes teasing them apart before you put them into your hot pan. Use oiled fingers to do this, and you won’t end up with clumpy, overly-oily fried rice!
  • Your cooking surface must be hot. If it’s not sufficiently heated, you risk having your rice stick to the pan.
  • Use the right amount of oil. Too little, and it won’t have that magnificent fried taste. Too much, and it will be overly-greasy. Aim to cover the base of the pan with a thin layer of neutral-tasting oil.
  • Finely chop vegies. This creates the most flavorful mouthfuls and satisfying fried rice. This isn’t a chunky stir-fry – you’re aiming for each forkful to contain a little of each ingredient.
  • Avoid over-crowding the pan. You need a large cooking surface so ingredients fry and become crisp rather than steaming and turning soggy. If you’re unsure whether you’ll have sufficient space, opt for using 2 pans
  • Use salt to bring out flavours rather than seasonings. Avoid being heavy-handed with condiments such as tamari (or soy sauce), oyster sauce or sesame oil. You don’t want to discolour the dish – which amounts to no more than 2 tsp tamari, and a light drizzle of sesame oil.


No pre-cooked rice?

If you don’t have pre-cooked and cooled rice, then don’t despair. This dish will still be delicious made with freshly-cooked rice.

Use these tips to optimise the rice texture:

  1. Rinse the rice really well before cooking. To save water, I cover the rice with water by a few inches and give it a good swirl with my hand for 30 seconds or so. Drain (saving water for pot plants, if desired) and repeat 2 – 3 times.
  2. Reduce the amount of cooking water. Use 2 cups water for 1 cup rice. Using a smaller amount of water will prevent your rice from becoming gummy and sticky.
  3. Remove rice from heat before it’s fully cooked. Once brought to the boil, simmer for 10 – 12 minutes and then remove from the heat. Slightly undercooking results in the rice being more chewy and firmer when fried.
  4. Cool rice as quickly as possible. Spread cooked rice onto a shallow baking tray to cool quickly and dry out a little while you’re prepping your other ingredients. Even 5 – 10 minutes cooling time will make a big difference to your final texture. If you’ve got extra time, place your rice in the freezer to give it a quick chill.


Peri's Recipe Reflections:

A number of years ago our older kids had a Youth camp near Adelaide, and it also happened to be our first time visiting that area.

We probably all have different memories of that day, but for me, my memories were of gratitude for the opportunity for our kids to form new friendships with believers of their age, and the food we ate (that I didn’t have to plan or prepare?).

It’s not often that we eat out – in fact, it’s pretty rare – usually we pack a tremendous array of snacks and lunch items so we don’t have to stop.

But on this particular day Josh and I decided a treat was in order, especially as the older kids were doing something fun.

We found our way to a little noodle shop and after a unanimous vote, bought several boxes of their Fried Rice.

Aside from the occasional murmurs of thanks for taking them out to lunch, there was silence.

And anyone from a large family will attest that this is a miracle!

I don’t remember anything significant about the rest of that day. But as you’ve probably guessed, I had just one thought circulating in my mind – finding ways I could quickly and easily make our own version of that Fried Rice, so that we could eat it at home … frequently!

And so, very shortly afterwards, this recipe was borne.

Even though it’s undergone a few revisions and is slightly different every time we make it, it’s still a firm family favourite – especially when I have leftover rice!

And every time I eat it, I’m reminded of the day we enjoyed eating lunch in Mount Barker.

What about you? Do you have memories of eating something delicious at a specific location?


Peri x


P.S. If you make one of my recipes, could you do me a quick favour? Please leave a star rating and review directly on my website. It takes just 2 minutes!

Your feedback is super-helpful, both for me and for others. It also shows search engines like Google know that my recipes are worth sharing. This helps me continue to provide you with lots of free recipes ? Thank you.

How useful was this post?

Click on a star to rate it!

Average rating 0 / 5. Vote count: 0

No votes so far! Be the first to rate this post.

Leave a Reply

Your email address will not be published. Required fields are marked *

Enjoy that? Never miss a delicious recipe. Subscribe today!

(We won’t spam you. Promise) 

If you’re looking specifically for beef, lamb or mutton recipes, check out the recipes on our sister site, Border Park Organics.

Return home to see all Border Park Kitchen offers or browse our Free Resources. If you have any questions, drop us a line.

Follow Us On

Instagram

Free Download